新規WPFプロジェクトの作成
まずVisual Studio 2010を起動し、Visual BasicまたはVisual C#を選択したのち、新しいWPFアプリケーションを作成します。ここではプロジェクト名を「NA_CpuGauge」とします。
MainWindow.xamlのカスタマイズ
既定ではアプリケーションの起動時に表示させるウィンドウとしてMainWindow.xaml、MainWindow.xaml.csが設定されています。この項目ではガジェットらしく、ウィンドウの枠の非表示やサイズ指定を行います。また、この際、x:Name属性を「CpuGaugeWindow」と設定します。この段階ではWindow自体のBackgroundはBlueと設定します。
<Window x:Class="NA_CpuGauge.MainWindow"
        xmlns="http://schemas.microsoft.com/winfx/2006/xaml/presentation"
        xmlns:x="http://schemas.microsoft.com/winfx/2006/xaml"
        Title="MainWindow"
        x:Name="CpuGaugeWindow"
        Height="200" Width="200"
        WindowStartupLocation="CenterScreen"
        WindowStyle="None"
        Background="Blue"
        ResizeMode="NoResize"
        Topmost="True">
    <Grid>
    </Grid>
</Window>
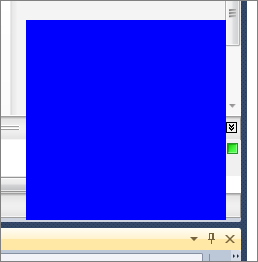
実行すると青色の四角が表示されていることを確認できます。

このままではガジェット自体の移動ができないので、MouseMoveイベントを定義し、イベントハンドラ内でDragMove()メソッドを使用し、ドラッグ移動を可能にします。
<Window x:Class="NA_CpuGauge.MainWindow"
    …
        MouseMove="CpuGaugeWindow_MouseMove">
    <Grid>
    </Grid>
</Window>
private void CpuGaugeWindow_MouseMove(object sender, MouseEventArgs e)
{
    if (e.LeftButton == MouseButtonState.Pressed)
        DragMove();
}
ここまでのアプリケーションを実行すると枠のないアプリケーションが起動し、マウスでのドラッグが可能になっていることが分かります。
xamRadialGaugeコントロールを追加
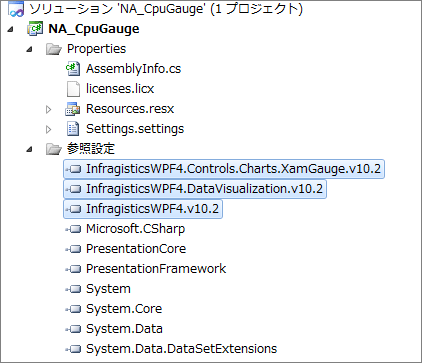
xamRadialGaugeコントロールをWindowに追加するにはまず、[ソリューションエクスプローラ]タブで参照設定に以下のアセンブリを追加します。
- InfragisticsWPF4.Controls.Charts.XamGauge.v10.2.dll
- InfragisticsWPF4.DataVisualization.v10.2.dll
- InfragisticsWPF4.v10.2.dll

次にMainWindow.xamlのXML名前空間を指定します。
<Window x:Class="NA_CpuGauge.MainWindow"
    …
        xmlns:ig=http://schemas.infragistics.com/xaml>
    <Grid>
    </Grid>
</Window>
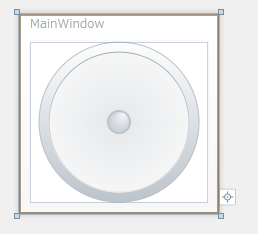
最後にxamRadialGaugeを追加します。また、WindowのBackgroundをTransparent、AllowTransparencyプロパティをTrueとしてゲージのみ表示されるように変更します。
<Window x:Class="NA_CpuGauge.MainWindow"
…
        Background="Transparent"
        AllowsTransparency="True"
        xmlns:ig="http://schemas.infragistics.com/xaml">
    <Grid>
        <ig:XamRadialGauge Name="xamRadialGauge1" />
    </Grid>
</Window>


