


Data Science Experienceでデータの取り込み・分析にチャレンジ!
では、Data Science Experienceを試してみましょう。ここではデータも用意された既存のサンプルを使用して、データを取り込んだり、それをグラフ表示させたりしてみます。
Data Science Experienceに登録する
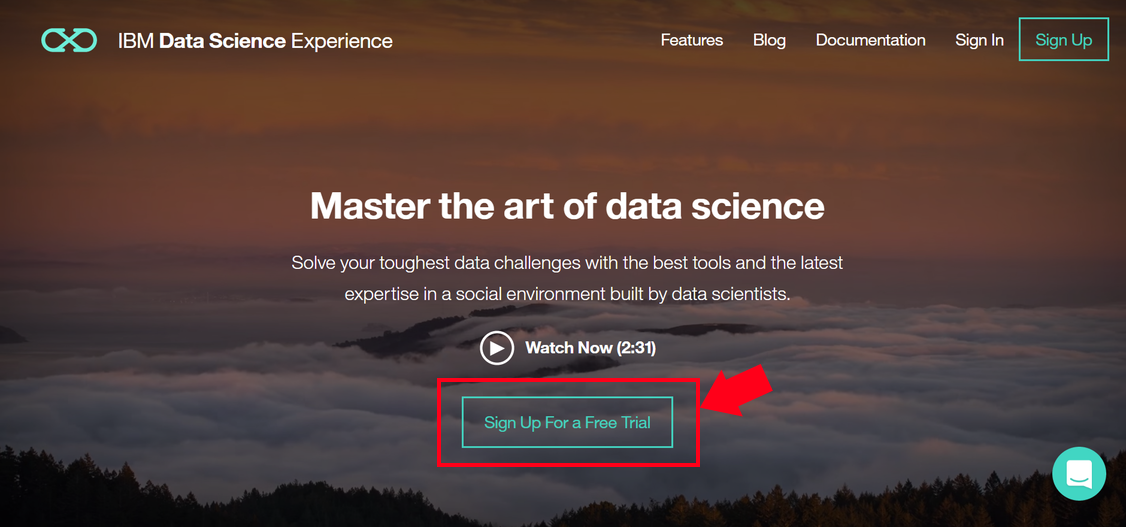
最初にData Science Experienceのサイトから利用登録を行います。[Sign Up For a Free Trial]ボタンをクリックしてください。
Data Science ExperienceはBluemixを利用しているため、試すにはBluemixのアカウントが必要です。アカウントがなければ「Email」にメールアドレスを入力し、[Continue]ボタンをクリックして作成します。表示されたページに必要事項を入力すると、確認コード(Confirmation code)が送られてくるので、これを入力して[Create Account]ボタンをクリックすると、アカウントが作成されます。
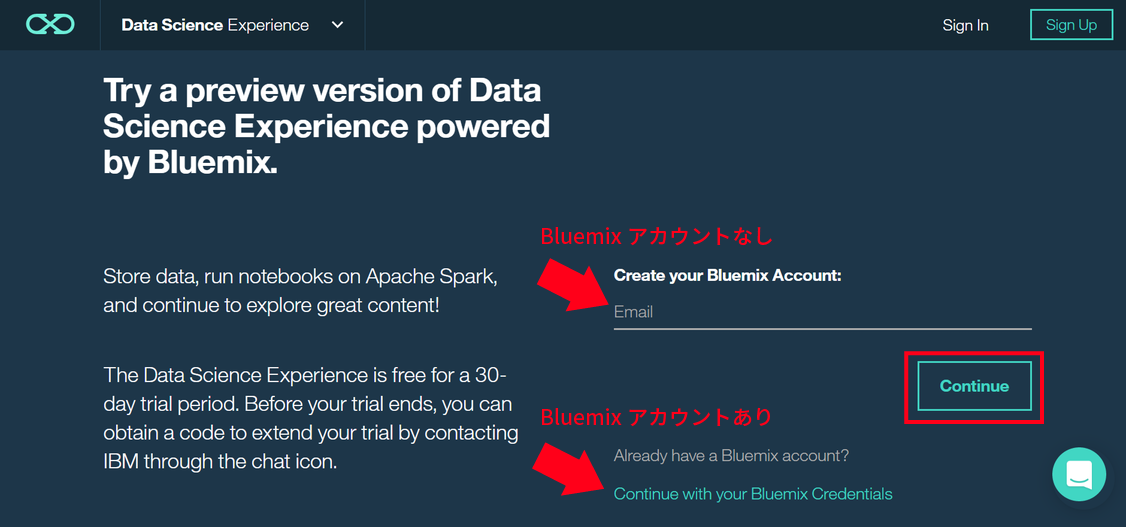
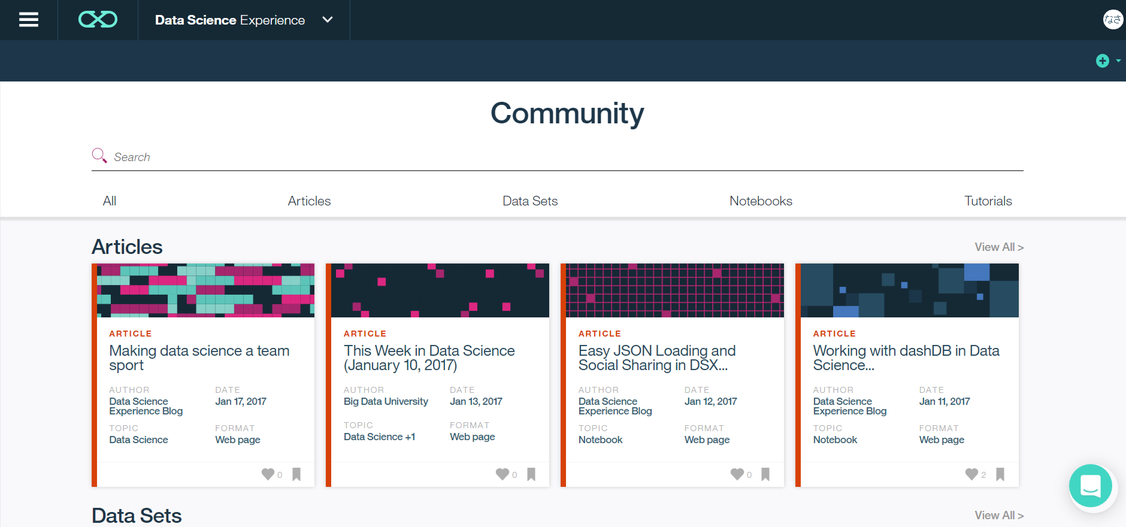
アカウントがある場合は、[Continue with your Bluemix Credentials]をクリックしてBluemixにサインインします。すると、Data Science Experienceを利用するための準備処理が行われます(数分かかります)。「Done!」と表示され、[Get Started]ボタンをクリックすると、Data Science Experienceのトップ画面が表示されます。
Jupyter Notebookを使ってサンプルを実行する
「Jupyter Notebook」は、Data Science Experienceで利用するプログラミングツールです。IPythonをベースにしており、Webブラウザ上でコードの実行、コメントの記述、グラフの描画を実行できます。Data Science Experienceで使用できるプログラミング言語には、Pythonのほか、ScalaとRがあります。
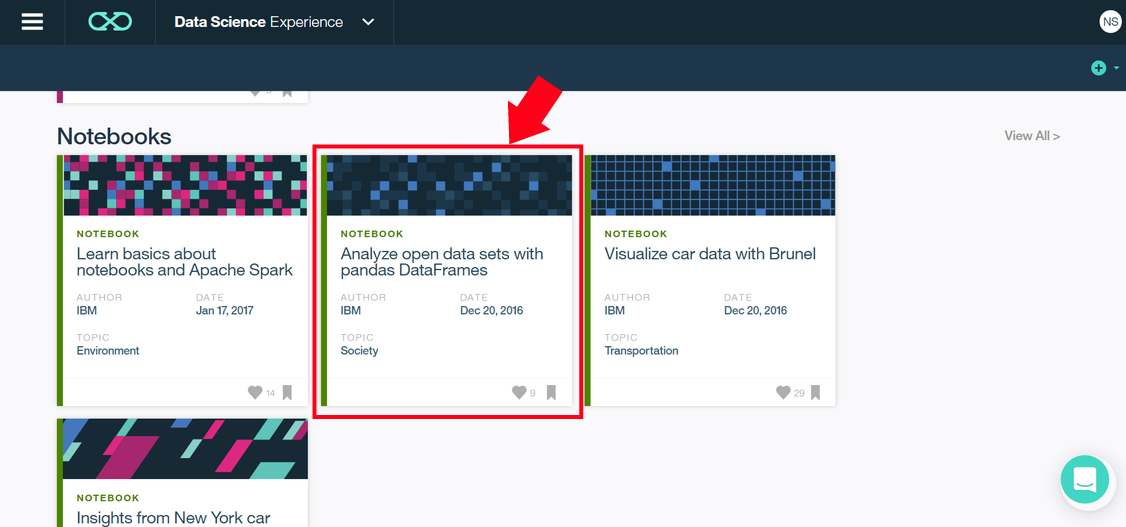
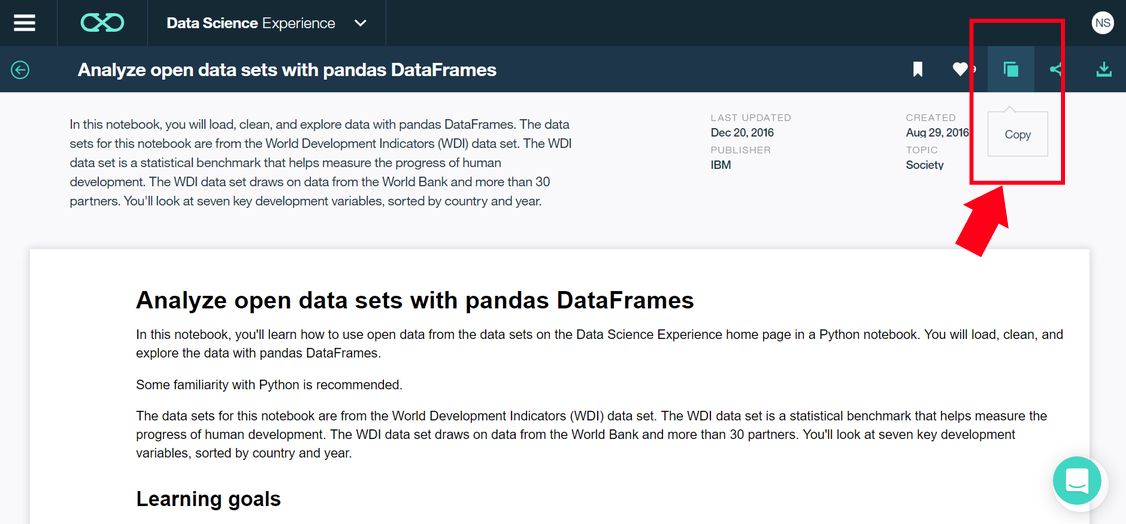
Data Science Experienceのトップ画面をスクロールしてNotebookを表示し、「Analyze open data sets with pandas DataFrames」をクリックします。これは、Pythonのデータ解析支援機能ライブラリである「pandas」を使って、オープンデータの取り込みや分析を行うサンプルです。
Notebookが表示されたら、右上にある[Copy]アイコンをクリックしてコピーします。
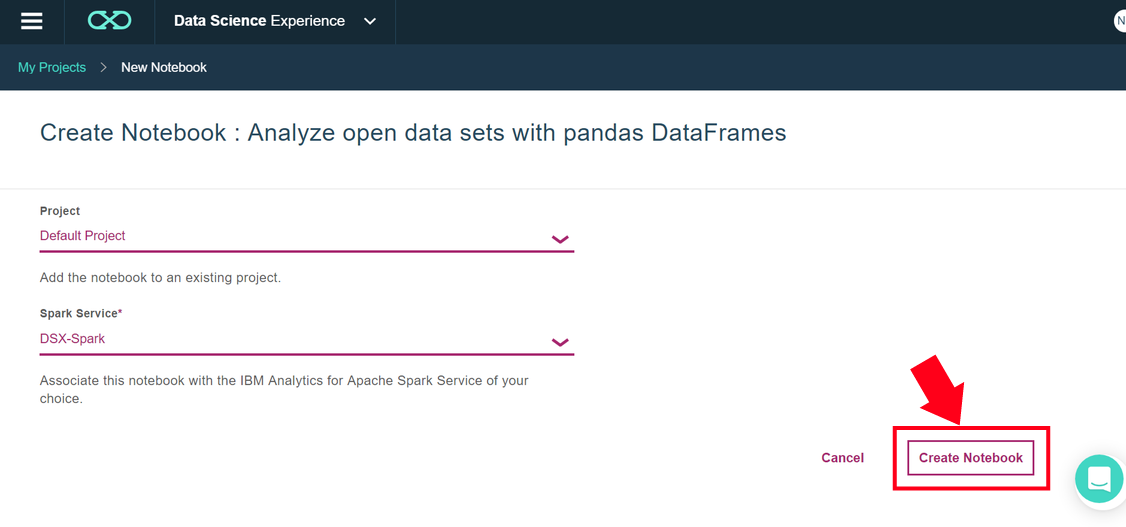
[Create Notebook]をクリックし、自分のプロジェクトにNotebookを作成します。
 Watson Data Platformを試したい・詳しく知りたい方は
 Watson Data Platformを試したい・詳しく知りたい方は
本稿で紹介しているData Science Experienceとそのデータ分析サンプルをはじめ、Watson Data Platformが提供する各種ツール・サンプルを、下記のWebサイトで皆さんにもお試しいただけます。詳細な資料なども配付していますので、ぜひご覧ください!


